How to install CUDA Toolkit and cuDNN on Windows and Linux to enable GPU-accelerated inference with ailia SDK.
CUDA Toolkit is NVIDIA's platform for general-purpose GPU computing (GPGPU). cuDNN is NVIDIA's library for deep neural networks. By installing these, ailia SDK can perform faster inference using NVIDIA GPUs.
The cuDNN version requires a specific minimum version of CUDA Toolkit and ailia SDK.
| cuDNN Version | Required CUDA Toolkit | Required ailia SDK |
|---|---|---|
| cuDNN 8.0.2 - 8.2.4 | CUDA Toolkit 11.0 or later | ailia SDK 1.2.4 and later |
| cuDNN 8.3.0 - 8.7.0 | CUDA Toolkit 11.5 or later | ailia SDK 1.2.11 and later |
| cuDNN 8.8.0 - 8.9.7 | CUDA Toolkit 12.0 or later | ailia SDK 1.2.15 and later |
| cuDNN 9.0.0 - 9.x | CUDA Toolkit 12.0 or later | ailia SDK 1.4.0 and later |
| cuDNN 10.0.0 - | CUDA Toolkit 12.0 or later | ailia SDK 1.7.0 and later (planned) |
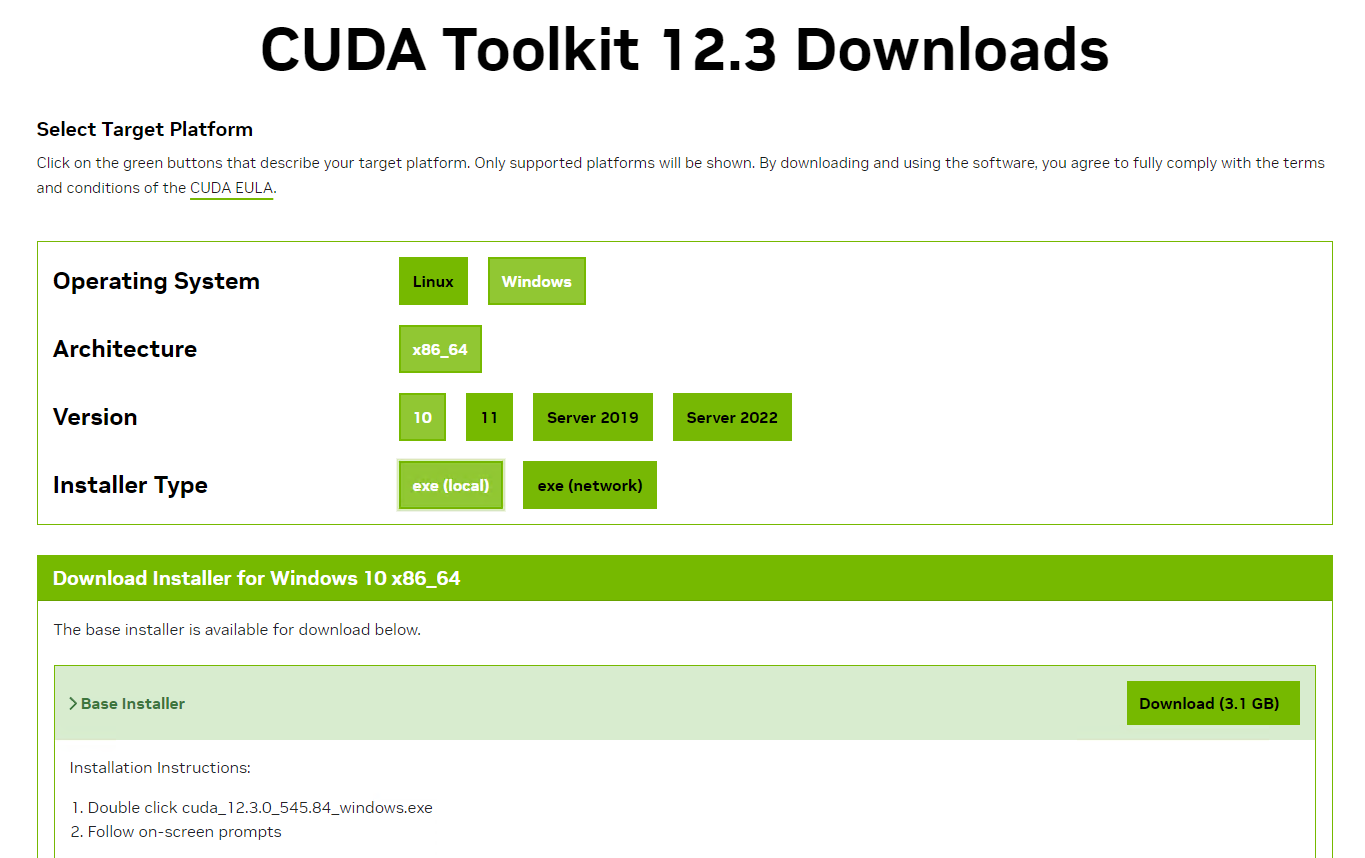
Go to the CUDA Toolkit download page and click "Download Now".
Select your operating system, architecture, version, and installer type:
Click the "Download" button under "Base Installer" to download.
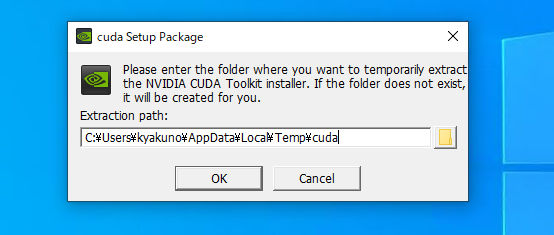
Run the downloaded installer. The default extraction directory is fine.
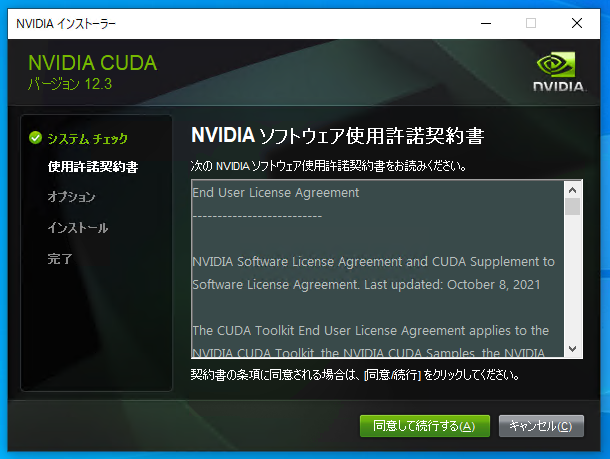
Review the NVIDIA Software License Agreement and click "Agree and Continue".
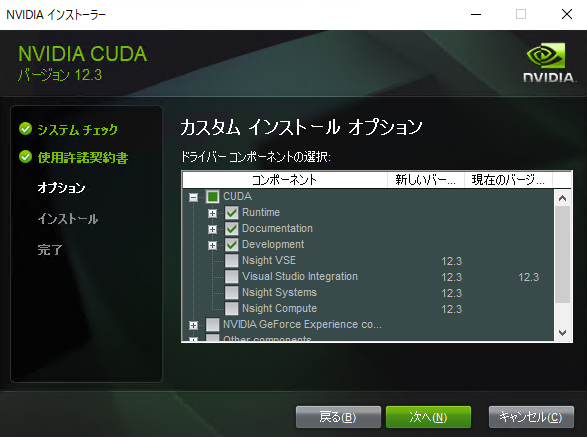
Select "Custom (Advanced)".
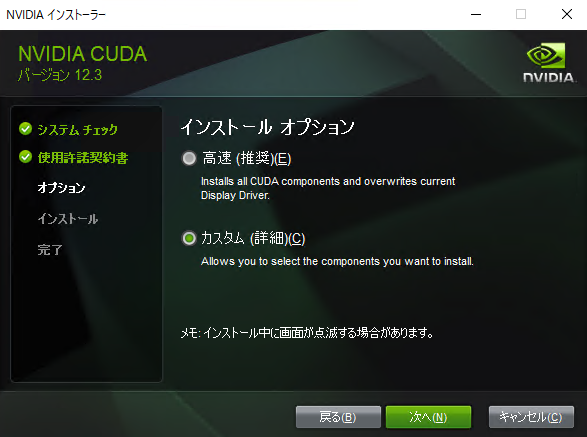
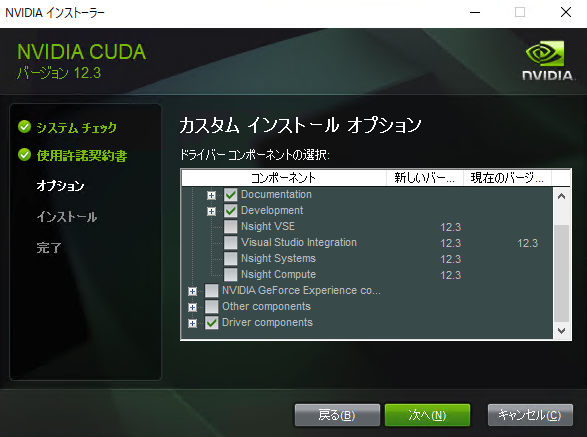
In the custom installation options, enable the following components:
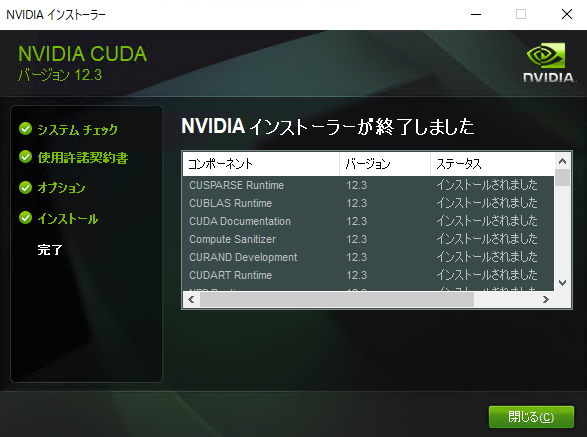
When installation finishes, you will see a list of installed components.
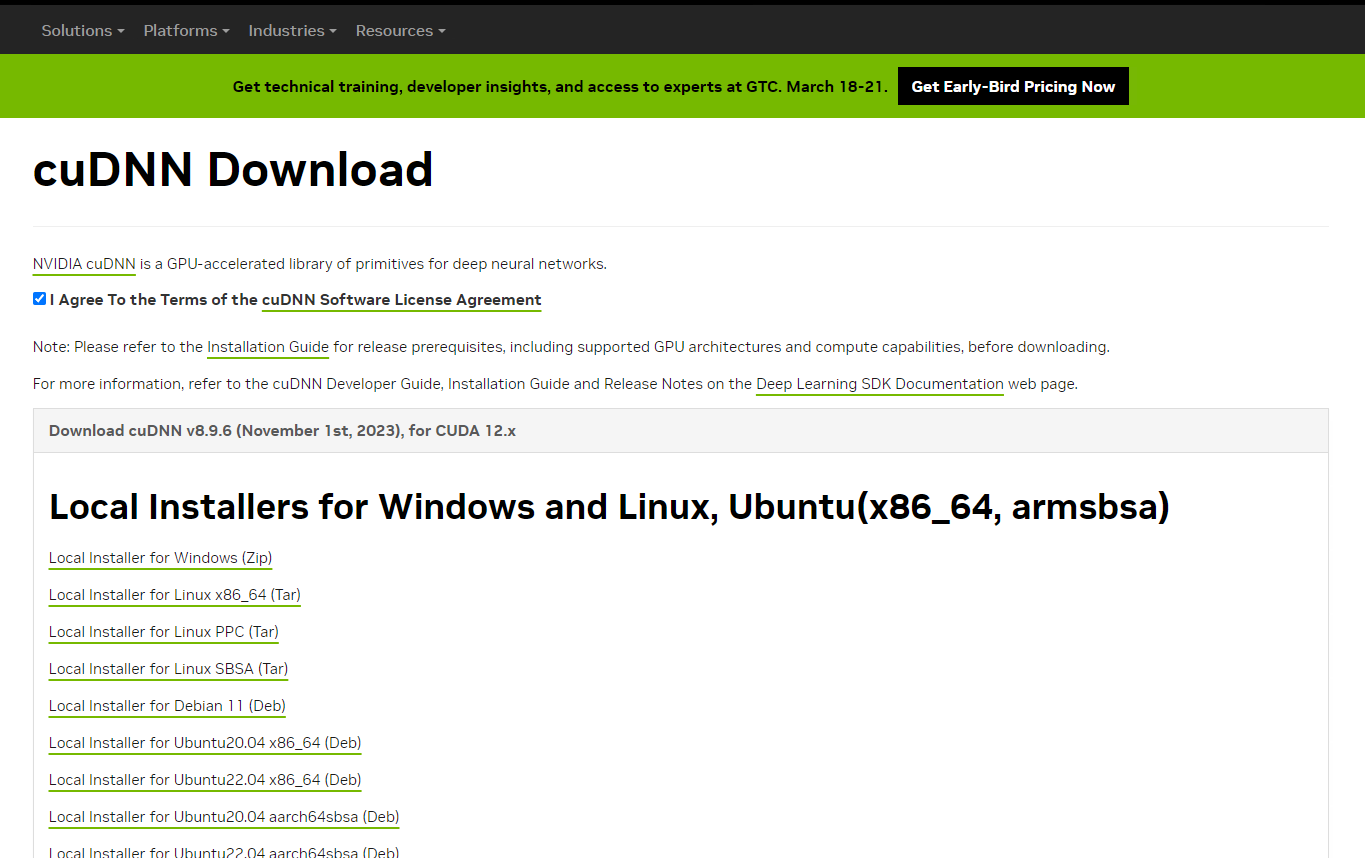
Go to the cuDNN page and click "Download cuDNN Library".
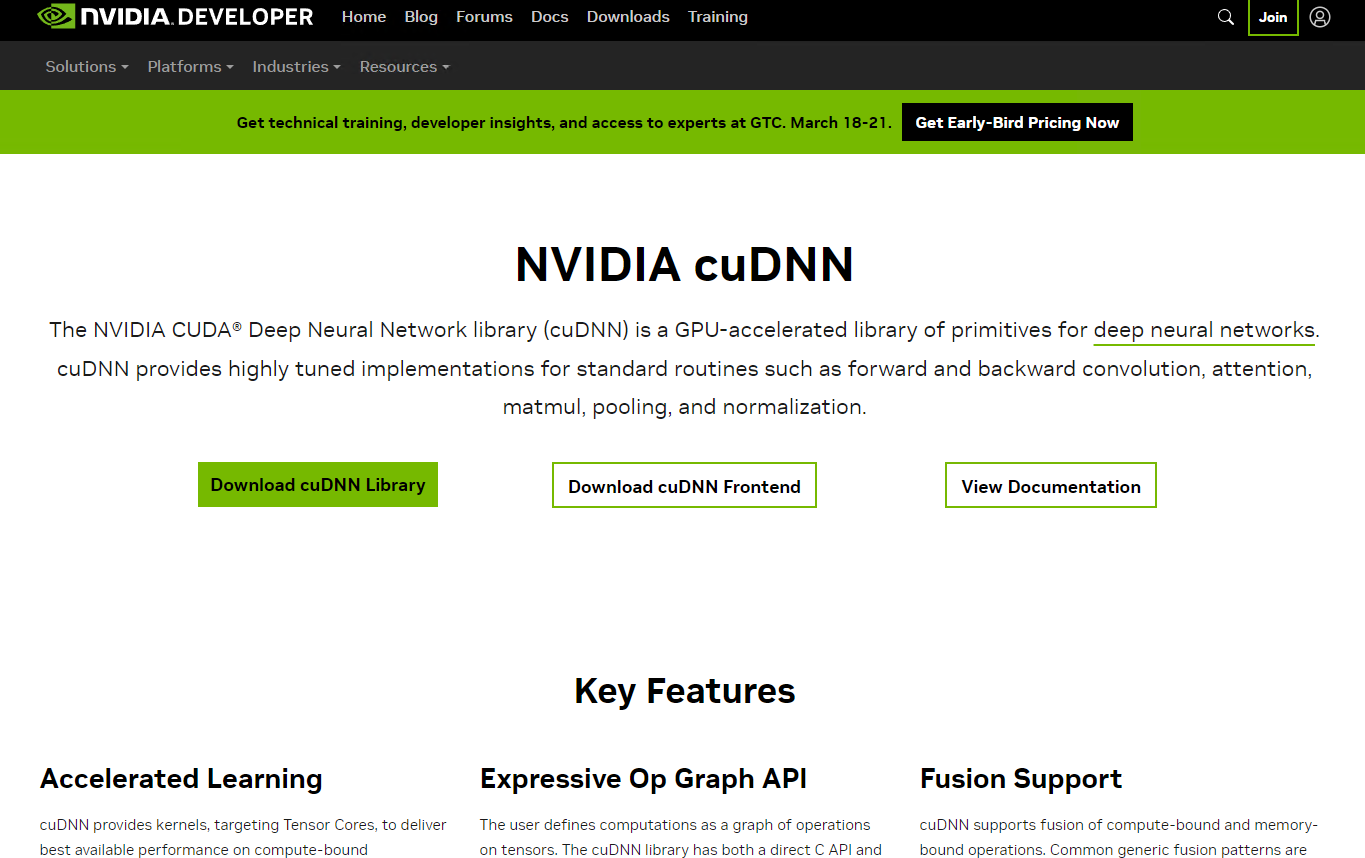
An NVIDIA Developer account is required to download cuDNN. Sign up if you don't have one.
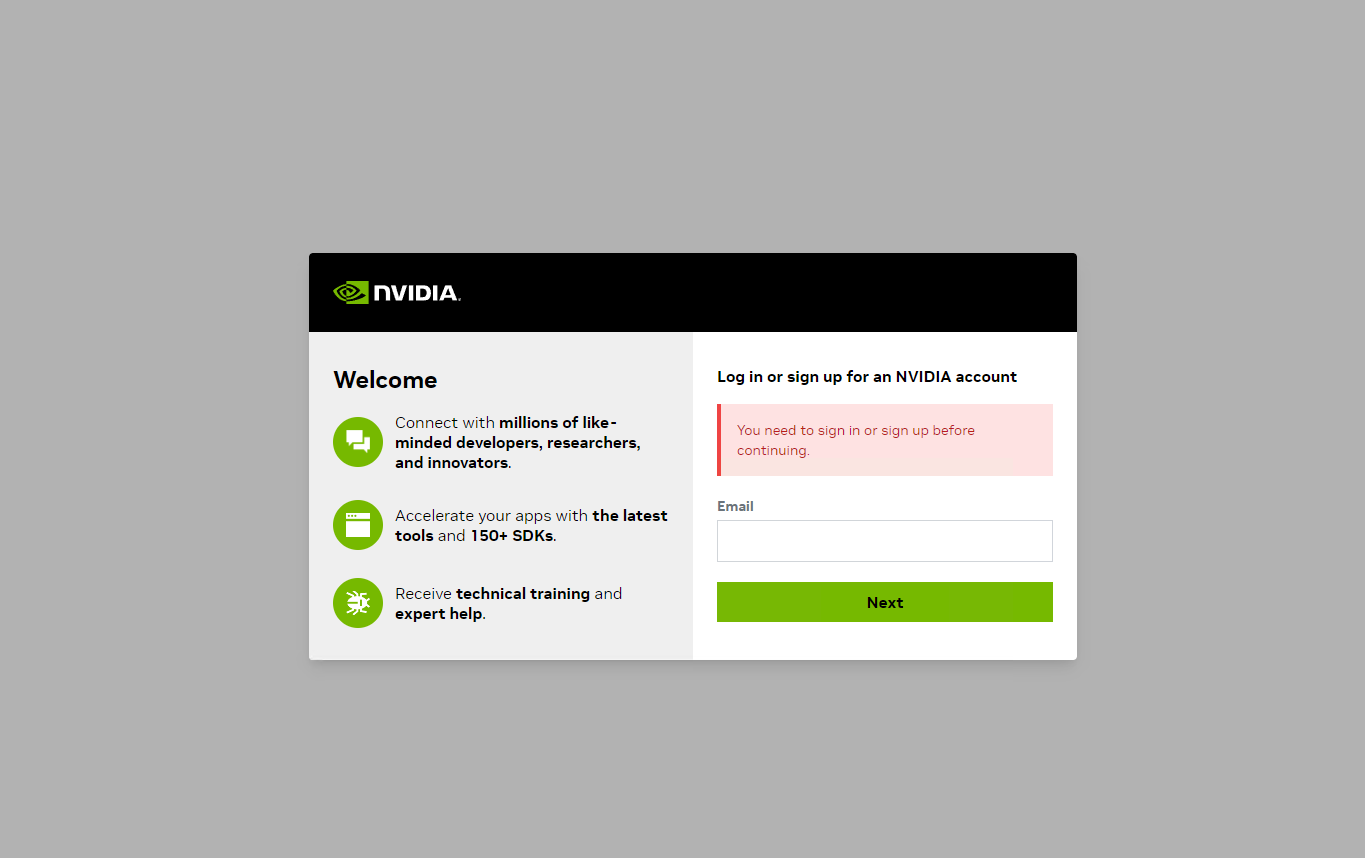
After logging in, select "Local Installer for Windows (Zip)" on the download page.
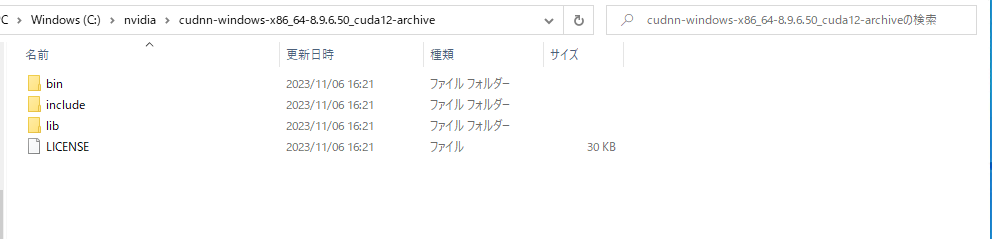
Extract the downloaded zip file. Move the extracted folder (e.g., cudnn-windows-x86_64-8.9.6.50_cuda12-archive) to a location of your choice (e.g., C:\nvidia\).
Add the cuDNN bin folder to your system PATH so that the DLLs can be found at runtime.
Open Windows "Settings" → "System" → "About", then click "Advanced system settings" to open "System Properties". Click the "Environment Variables" button.
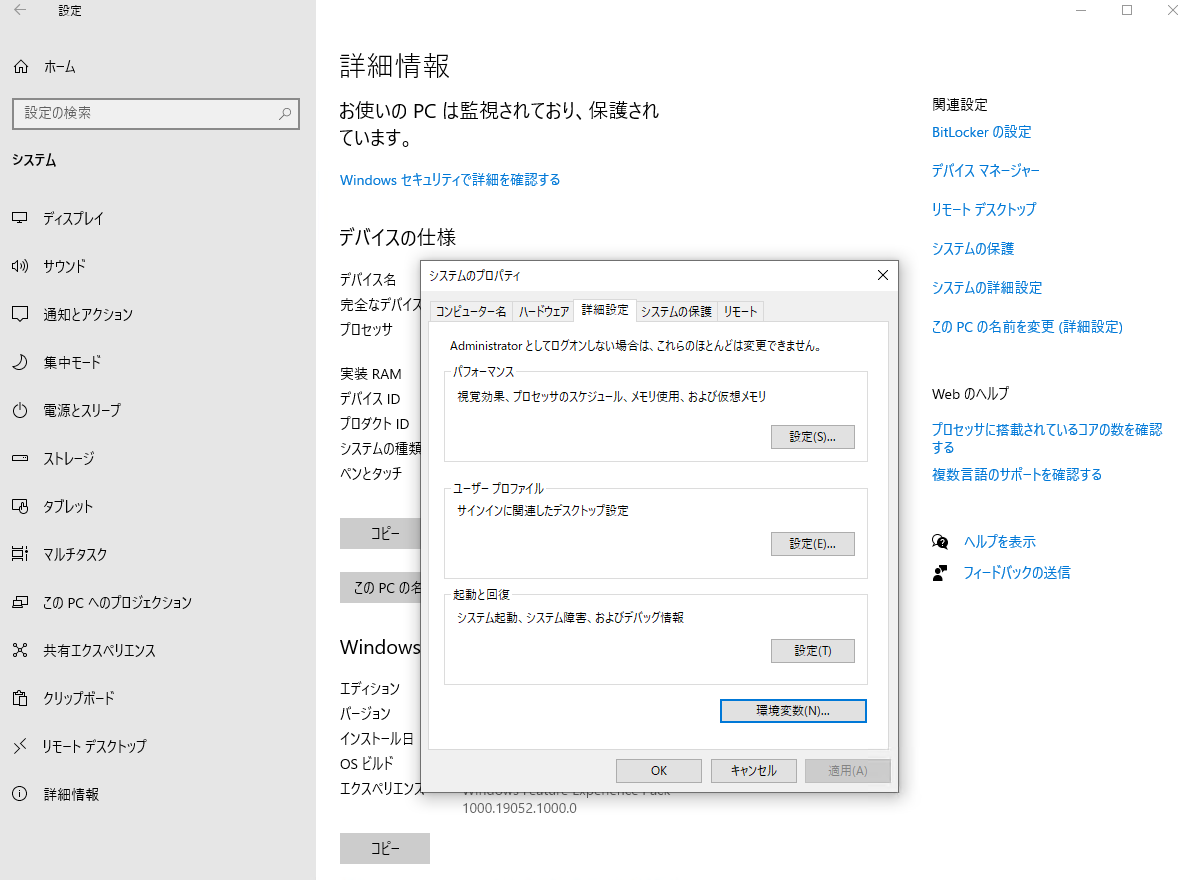
Select the "Path" variable under "User variables" and click "Edit". Click "New" and add the path to the cuDNN bin folder.
C:\nvidia\cudnn-windows-x86_64-8.9.6.50_cuda12-archive\bin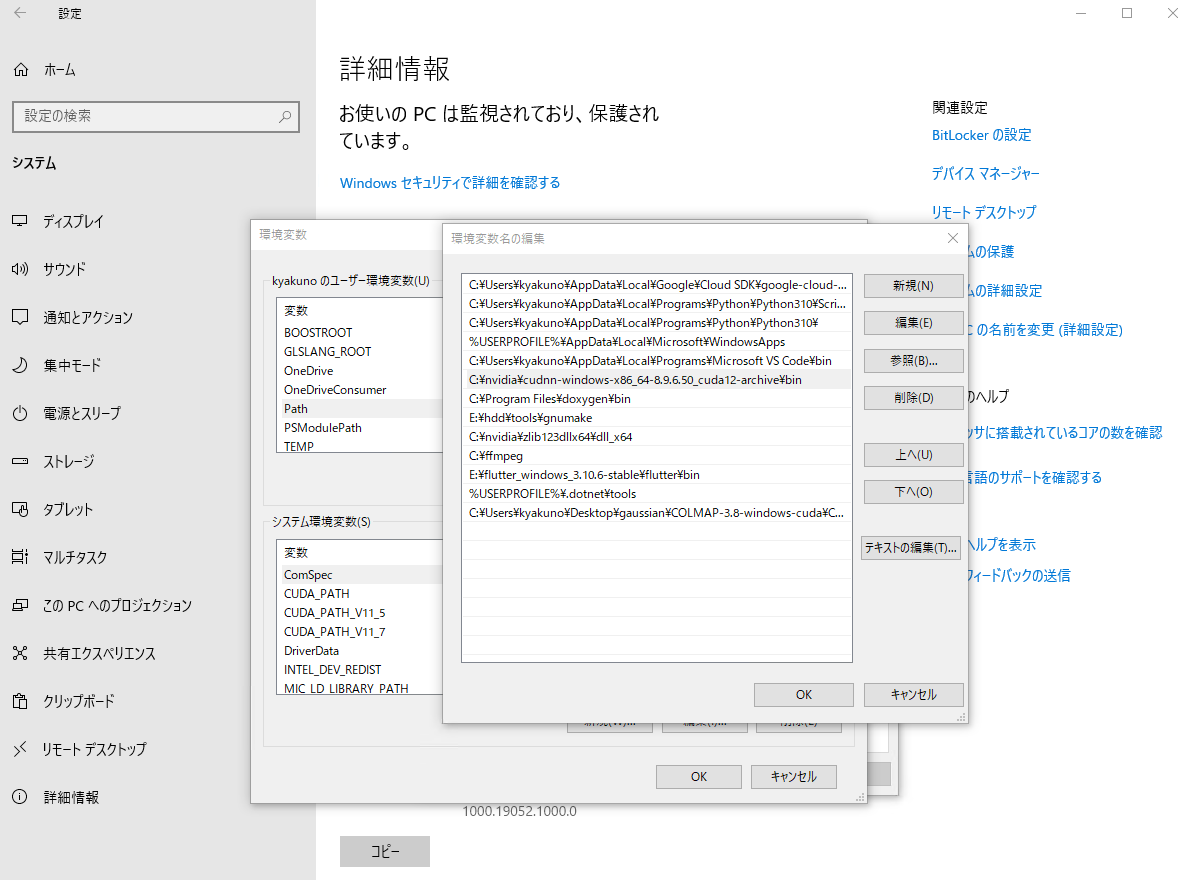
cuDNN 8.3 and later on Windows requires zlibwapi.dll.
Download zlib123dllx64.zip from the ZLIB DLL home page and extract it.
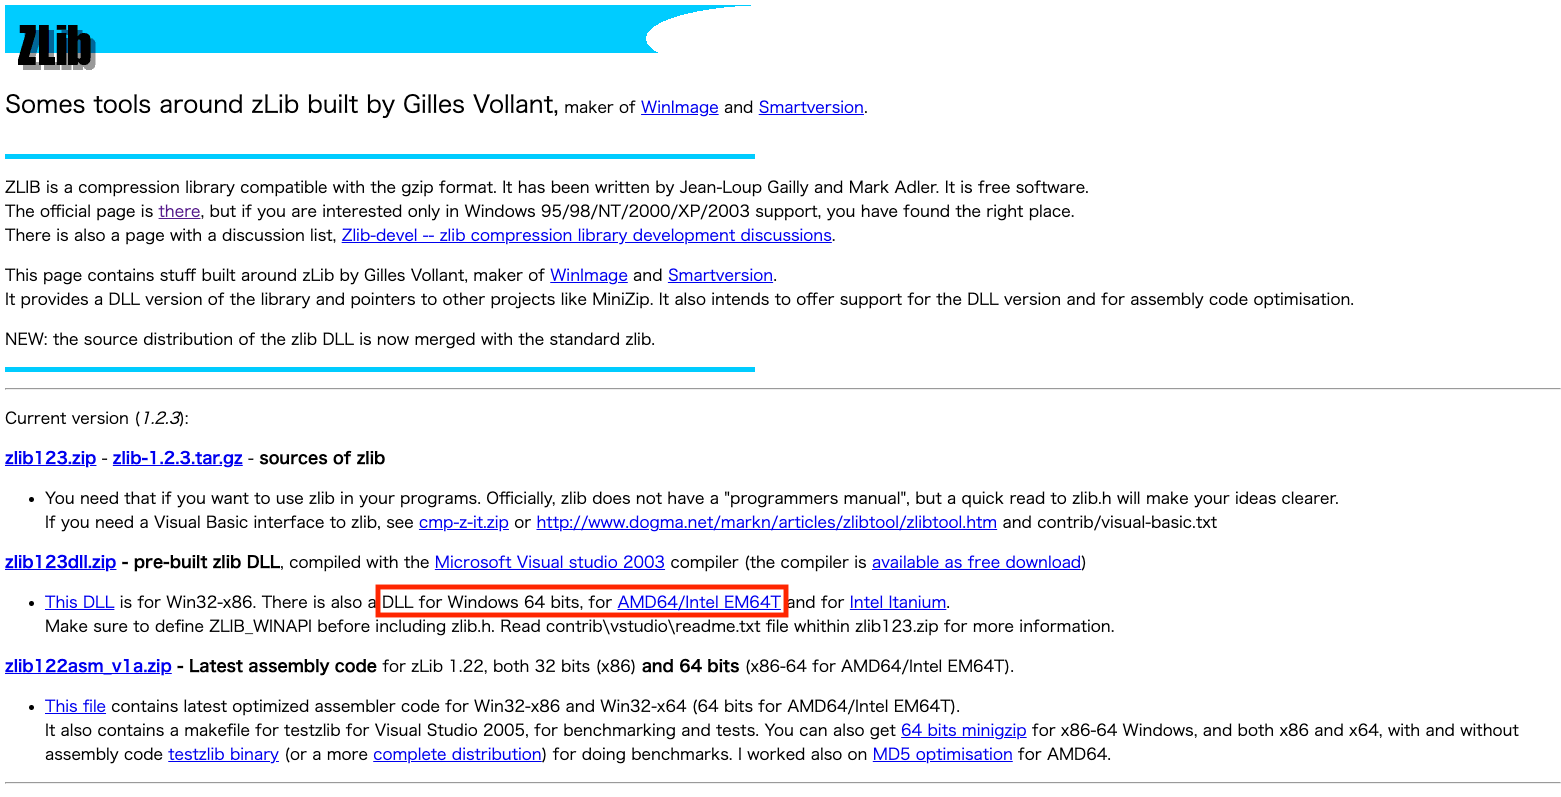
Copy zlibwapi.dll from the extracted files to a directory on your PATH. The simplest option is to copy it into the cuDNN bin folder.
copy dll_x64\zlibwapi.dll C:\nvidia\cudnn-windows-x86_64-8.9.6.50_cuda12-archive\bin\First, add the NVIDIA CUDA apt repository. Go to the CUDA Toolkit download page, select Linux / x86_64 / Ubuntu / your version / deb (network), and follow the displayed commands. The typical steps are:
wget https://developer.download.nvidia.com/compute/cuda/repos/ubuntu2204/x86_64/cuda-keyring_1.1-1_all.deb
sudo dpkg -i cuda-keyring_1.1-1_all.deb
sudo apt updateOnce the repository is added, install both CUDA Toolkit and cuDNN with apt:
sudo apt install cuda-toolkit libcudnn9-cuda-12libcudnn8. For cuDNN v9 with CUDA 12.x, use libcudnn9-cuda-12. Check available packages with apt search libcudnn.
Add the CUDA paths to your shell profile (~/.bashrc or ~/.zshrc):
export PATH=/usr/local/cuda/bin:$PATH
export LD_LIBRARY_PATH=/usr/local/cuda/lib64:$LD_LIBRARY_PATH
Reload your shell and verify the installation:
source ~/.bashrc
nvcc --versionOn NVIDIA Jetson devices (Jetson Orin Nano, Jetson AGX Orin, etc.), CUDA Toolkit and cuDNN are pre-installed as part of NVIDIA JetPack SDK. No additional installation is required.
You can verify the pre-installed versions with:
nvcc --version
dpkg -l | grep cudnnUse an ailia-models sample to verify that CUDA is detected.
cd ailia-models/image_classification/resnet50
python3 resnet50.py --env_list
If CUDA appears in the environment list, the setup is successful.
env[2]=Environment(id=2, type='GPU',
name='cuDNN-NVIDIA GeForce RTX 3080 (8.6, FP32)',
backend='CUDA', props=[])If "CUDA" appears in the GPU name, the setup is successful.
env_id explicitly.